
How to restore your Web Application and Postgres Database on Heroku
If your application isn't working after Heroku removed free tiers and your Postgres database got detached, this article is for you.


In August of this year, Heroku announced the end of its free tier services. This made both upcoming and pro developers who have used Heroku for so long very sad. This announcement pushed coding tutors to look for alternative platforms. One such platform is Railway. I, on the other hand, decided to stick with Heroku because I have a few client websites hosted there. These clients were willing to pay the fee to continue hosting on Heroku so I decided to stay. However, because I didn't act quickly (I was busy with other things), my web applications stopped working after November 28, and my Postgres databases got detached as well. In this article, I will help you get your web application up and running again.
Subscribe to Eco
The first step is to subscribe to Eco. Eco dynos cost $5 per month and this is the least you can subscribe to. You can check this by navigating to Dashboard, Account settings, and then the Billing tab.
To subscribe to Eco, you can do so by navigating to the Accounts settings tab or by navigating to a specific application on your dashboard. After you have clicked into the application, click on Configure Dynos.

Click on Subscribe to Eco and then click on Save. Note that dynos are shared across all apps on your dashboard.
Now using your CLI, run the heroku login command. Make sure you are logged in to the right heroku account and then execute the following command:
heroku ps:scale web=1:eco -a <appname>
This should give you an output like this Scaling dynos... done, now running web at 1:Eco
Provision a new Heroku Postgres Database
The next step is to provision a new Postgres database.
Before you provision Heroku Postgres, confirm that it isn’t already provisioned for your app. Simply use the heroku addons command to determine whether your app already has Heroku Postgres provisioned. If heroku-postgresql doesn’t appear in your app’s list of add-ons, you can provision it with the following CLI command:
heroku addons:create heroku-postgresql:<PLAN_NAME>
For example, to provision a BASIC plan database:
> heroku addons:create heroku-postgresql:basic
Creating heroku-postgresql:mini on ⬢ example-app... $9/month
Database has been created and is available
 ! This database is empty. If upgrading, you can transfer
 ! data from another database with pg:copy

Created postgresql-bigsur-52455 as DATABASE_URL
Use heroku addons:docs heroku-postgresql to view documentation
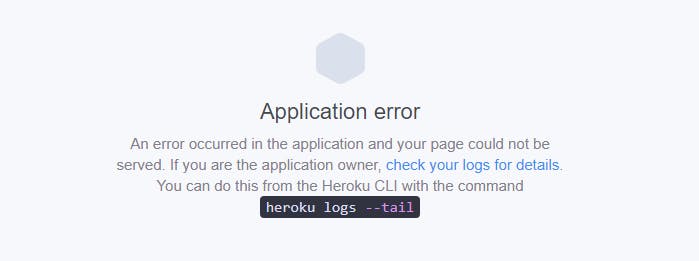
At this point when you visit your website, you should be seeing a Server Error (500) instead of:
Raise a Heroku support ticket
The next and final step is to raise a ticket with heroku by providing the following details:
Name of the application and the database that was deleted.
Name of the app and the new database you want Heroku to restore.
To create a ticket, visit Heroku Support
Final words
Please note that recovering the database involves overriding hence the data within the newly provisioned instance (if available) will be replaced with the data from the deleted database. This should not be a problem since what we need is for our existing website to be up and running again.